The vehicles of today come equipped with all kinds of electronics, from the side mirrors, and seat adjustments to the windows and steering wheel adjustment. But all these adjustments rely on a complex system made so that you open up and close things at the flick of a switch. The same can be said for the windows. Thanks to a component called a window regulator which controls all the other components found in the door, sitting below the window.
The components include the track, cables, motor and guide which all depend on the commands the auto window regulator gives them. Although automatic window regulators are more complex than manual ones they are far more convenient too. No matter which type of window regulator you need to replace, the process is about the same with some small changes. The same reason why you’d need to replace a wheel goes for window regulators too, they just end up being near the end of their lifespan.

How to Replace a Car Window Regulator
What You Need
To be able to replace a window regulator you must ensure you have a good number of tools and equipment handy. Replacing either an automatic or manual car window regulator requires having protective gloves, a razor blade, safety glasses, a small hammer, test leads, wheel chocks and an Allen wrench set. You also need a cross tip screwdriver, needle nose pliers, electrical cleaner, boxed end wrenches, a 9V battery saver, a Torx bit set and a ratchet with sockets.
Removal
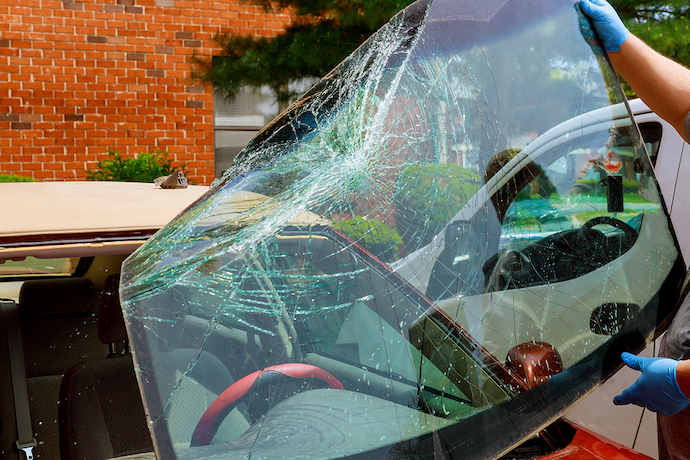
- To get your new auto window regulator working you need to first remove the old one by parking your vehicle on a flat surface with the transmission set in park or first gear. Then you need to install the 9V battery saver into the cigarette lighter to keep the computer live and all the current settings in your vehicle.
- As the last step before you start taking things out, disconnect the battery in your vehicle. When everything is done, start off by removing the window switch screws, and then remove the door panel. Make sure to remove the clear plastic cover behind the door panel in which case you’ll need to use the razor blade to get rid of it.
- Afterwards remove the assembly mounting bolts which keep the car window regulator assembly to the door shell. You may also be required to remove the speaker(s) in order to gain access to these bolts which are usually anywhere from 4 to 6.
- When removing car window regulators you need to be careful as they can fall. Make sure to hook up the switch to the window motor and raise the window all the way up. Use a pry bar to push the base of the assembly of the regulator to raise the window if the motor and regulator aren’t working.
- Once that’s done remove the top mounting bolts found on the window regulator. Then remove the assembly by pulling it out of the door. You’ll also need to feed the wire harness attached to the window motor through the door. Make sure to remove all the debris and moisture from the connector by cleaning the harness with the electrical cleaner.
Installation
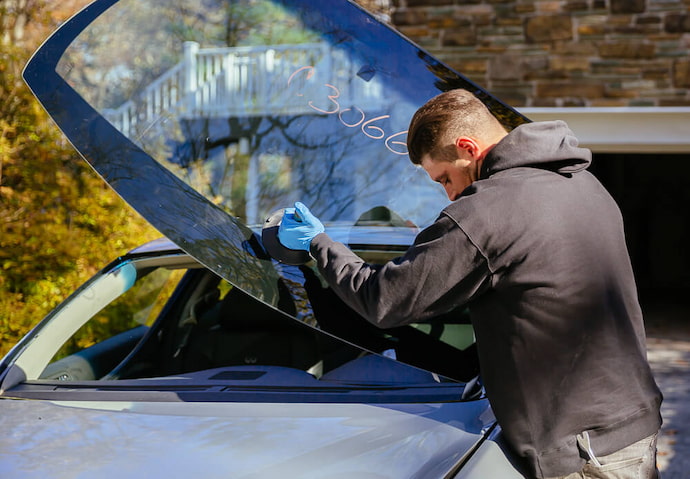
- Installing the new window regulator assembly and motor into the door starts by feeding the new harness through the door. Then you need to install the top mounting bolts to secure the window regulator to the window. Once secure you need to attach the assembly to the window.
- To attach the regulator assembly to the window you need to remove the masking tape from the window and carefully lower the window and the assembly. Then just line up the mounting hole to the window regulator and door shell, reinstall the mounting bolts and you’ve attached the assembly.
- If you needed to remove the speaker(s) from the door ensure that you install and reattach any of the wires or harness going to the speaker. Next comes the installation of the plastic cover back onto the door. To seal the cover you’ll need to apply a small coat of clear silicone to the plastic to hold things in place and keep moisture out.
- After that, install the door panel by snapping its plastic tabs back into place. If any of them broke off during the removal make sure to replace them with new ones. Next, attach the harness to the window switch back and put the window switch into the door panel.
- Afterwards install the screws into the switch to secure it to the door panel. Once all of this is done reconnect your vehicle’s battery and remove the 9V battery saver from the cigarette lighter. Once the battery clamps are tightened turn the key onto the run or accessory position and try to sue the switch on the door.
- Ensure that when using the switches the window goes up and down accordingly. If you didn’t use a battery saver you’ll need to reset all of the settings in your vehicle such as electric seats, mirrors and radio.


