Making your own candles can be such a rewarding experience since you get to create something with your own hands. It lets you express your creativity by creating a delightful aroma that fills your space with tranquillity and joy. When you’re making candles yourself, you have complete control over the ingredients, scents, designs and the overall quality of the candle. It’s a true reflection of your style and taste.
Candle Crafting Essentials
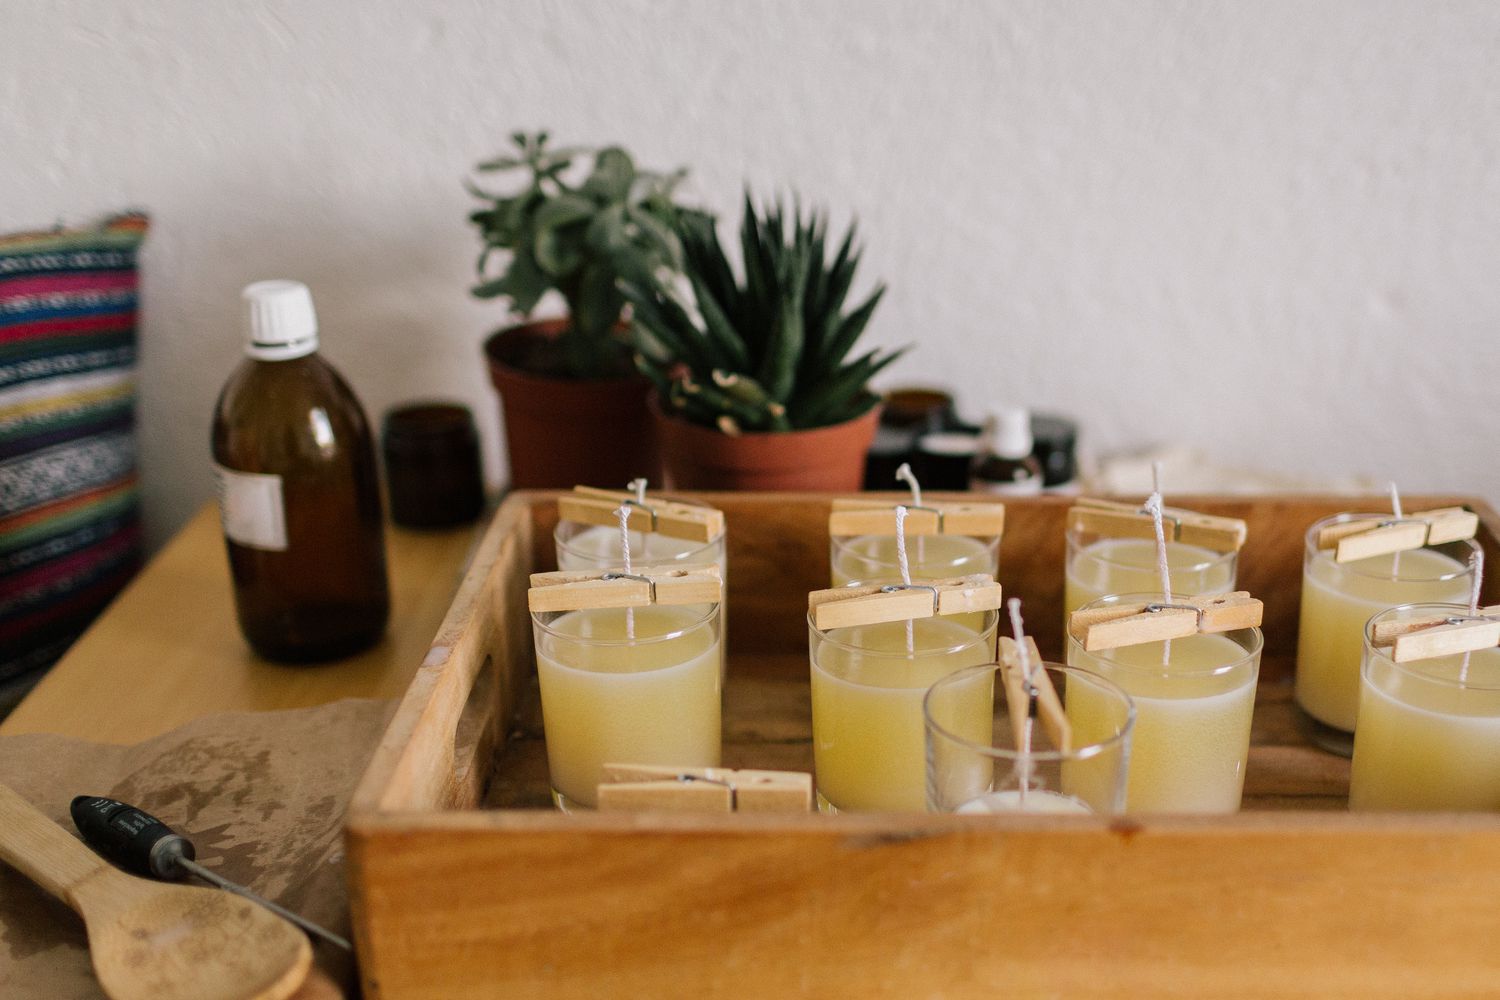
As is the case with any craft, there are some essential tools and materials that you will need to get your feet wet. Some have a general application, whereas others bring a more specific purpose to the table. When you have a proper base of materials, you can begin to experiment with different techniques for creating a variety of candles.
Candle Moulds
Here’s the thing – you don’t necessarily need to get a mould for candle making. You can also use a jar if that’s what you’re going for. Jars are a great vessel for creating luxurious-looking candles. But if you want something that offers greater versatility, you can use versatile and user-friendly candle making moulds for creating various designs and shapes and different types of candles.
Candle moulds are hollow containers that come in various shapes and sizes, whether it’s a simple cylinder, pillar shape, flower shape, geometric pattern, etc., and the choices are endless. They can be made from different materials such as plastic, silicone or metal, resistant to leaking and heat.
What’s good about a candle mould is that it helps you create candles with a uniform shape and size. As such, the candle you create will have more of a professional-looking finish. Additionally, you have the freedom to experiment with various colours and scents and additives to achieve different results, while maintaining shape uniformity.
This is a great way to make candles in bulk with different scents, colours and aromas. It is also a very thoughtful gift idea for any candle lover in your life. What a mould does is basically allow you to create a shape that has no walls. You pour the wax into the mould, let it set and once is solid enough, you remove the candle from the mould and get a beautifully shaped free-standing candle.
The beauty of moulded candles is that you can incorporate decorative elements directly into the wax to showcase the creative decoration and enhance the visual appeal of the candle. Once removed from the mould, the result is very aesthetically pleasing.
So, whether you need moulds or not, it ultimately comes down to your personal preferences and your level of experience in candle making. If you want to master your candle crafting skills, investing in candle moulds can be a worthwhile experience that is cost-effective in the long run.
Wax
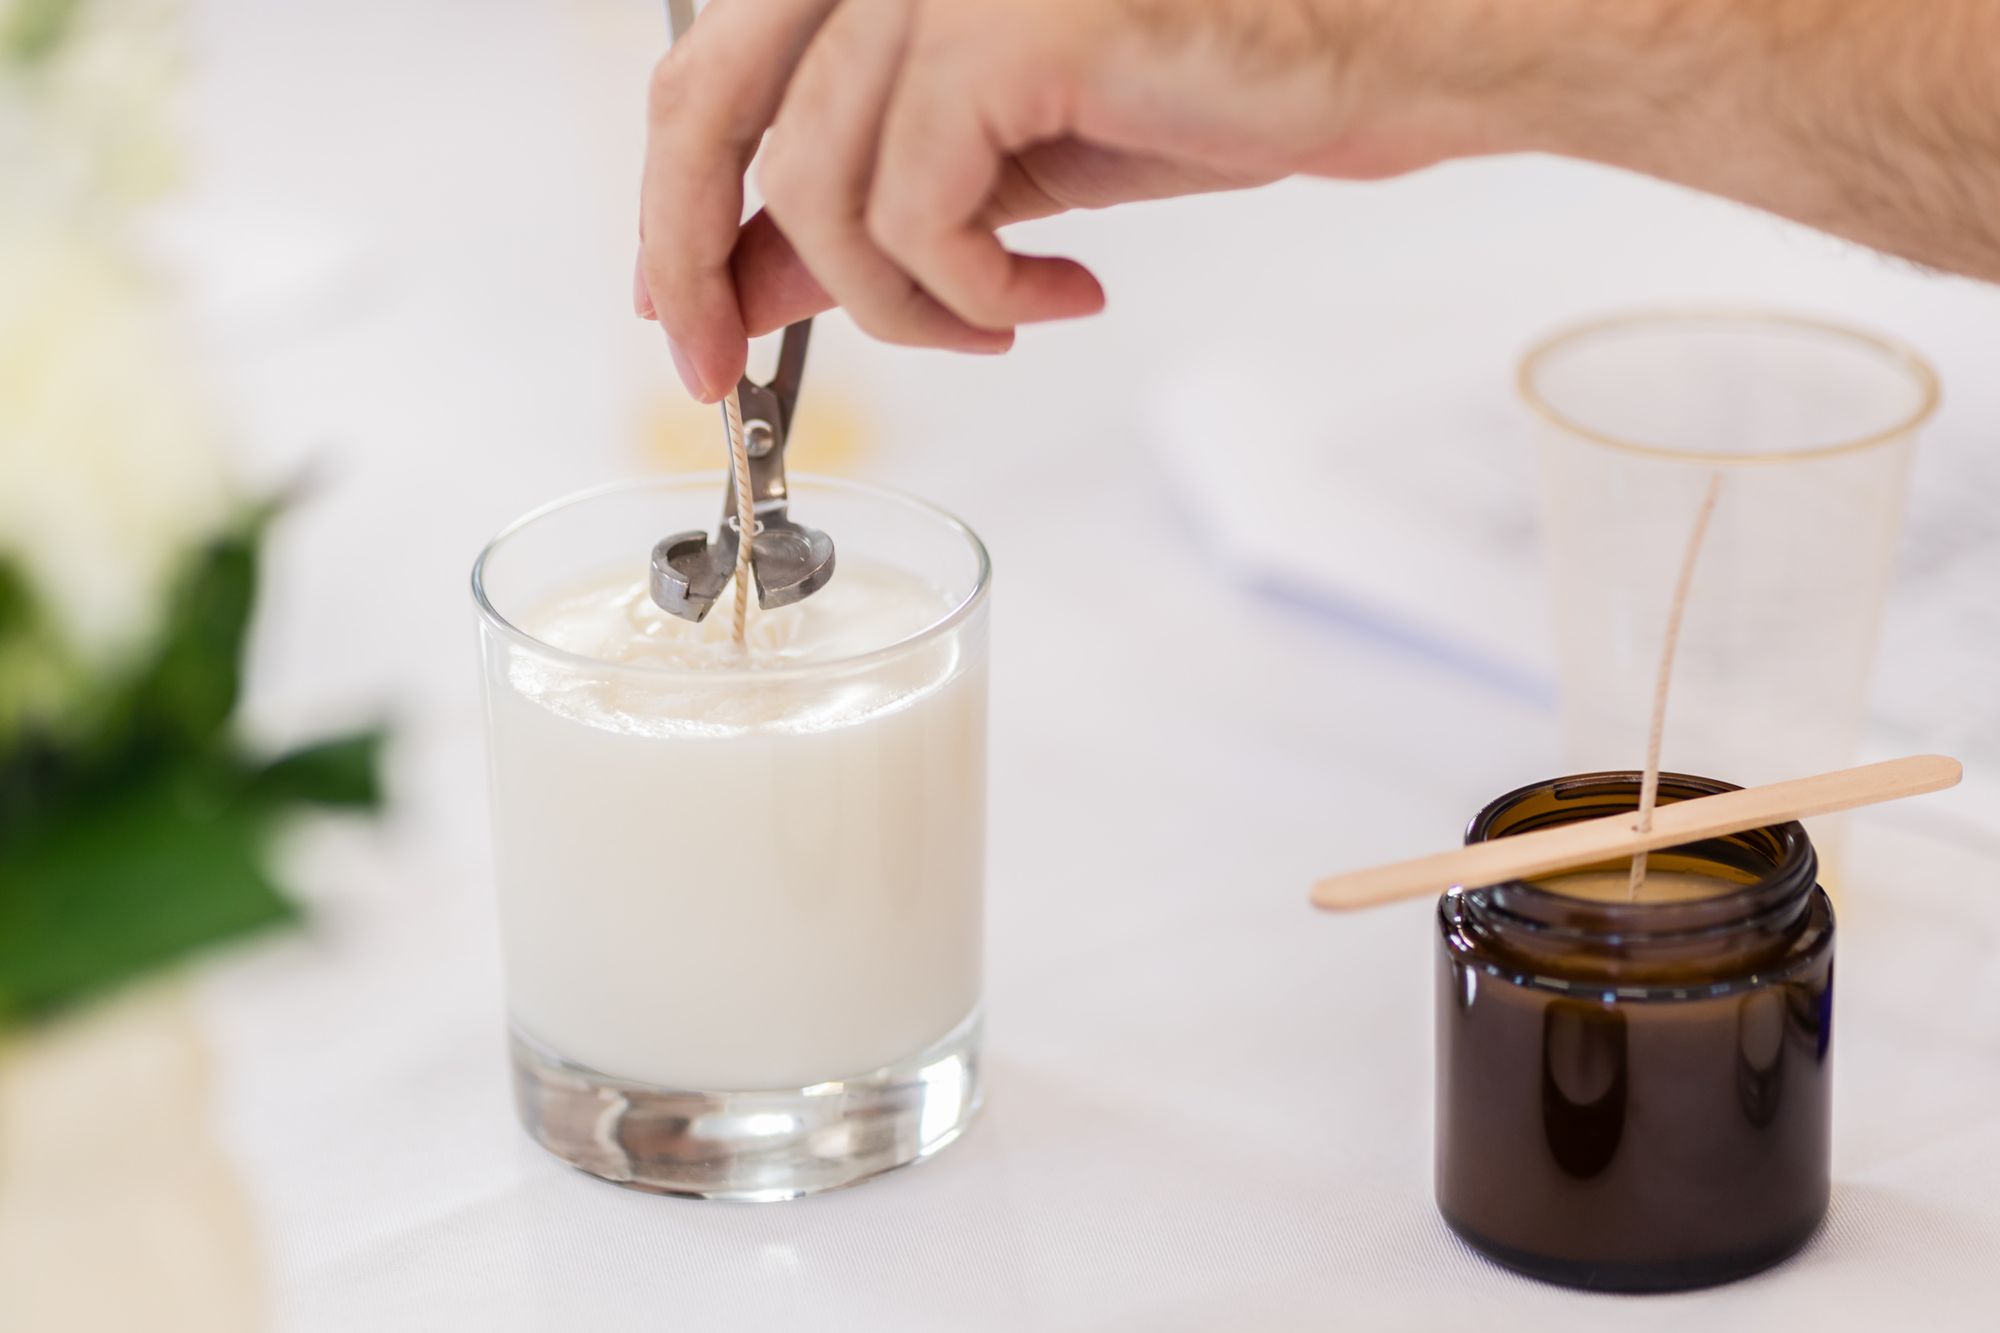
Wax is the most essential supply needed for creating a candle. If you choose to use moulds for candle making, you should pay attention to the type of wax you buy. Moulded candles are free-standing candles, which means, there are no supportive walls. For this reason, you should use hard wax that can withstand the candle burning and maintain its shape.
For moulded candles, the best is to use beeswax, palm wax, soy wax or paraffin. These are extremely hard waxes that can withstand high temperatures and are typically used for mould-making candles. Softer waxes are more suitable for jar candles, as they are prone to melting when the candle is burning.
To melt the wax, you will need a double boiler or melting pot. Heat the wax to the recommended temperature and once is completely melted, remove it from the heat source. This is the perfect moment to add ingredients to your preferences. You can add a few drops of essential oils to experience the benefits of aromatherapy or add a few drops of fragrance oils to create your favourite scents. You can also add candle colourants if you want to create candles in different colours.
While adding the additives of your preference, stir the wax using a heat-resistant spoon made from stainless steel or silicone. Allow the wax to cool down a little bit and then pour it into the moulds. You can also use a funnel for easier and mess-free transfer of the wax into the mould. While doing so, use protective gloves to protect your fingers from possible burns.
Most importantly, place the candle wick inside the mould before the wax pouring. Wait for the wax to harden enough before removing it from the mould. It can take up to several hours or overnight before the candle is ready to be removed from the mould.
Wicks
Choosing the right wick plays a significant role in how the candle burns. When it comes to moulded candles, cotton wicks are the most common type of wicks in candle making. They are highly suitable for beeswax, paraffin and soy wax.
Another alternative would be to use pre-waxed wicks. These wicks come with already applied wax coating which helps it adhere to the mould more effectively during the wax pouring.
Another important factor that determines the burning of the candle is the wick size. If the wick is too small it may result in tunneling down in the middle of the candle and this leads to uneven burning. On the other hand, if the wick is too high above the candle, this can cause excessive smoking and may result in melting wax that slides down on the sides of the candle.
To ensure you’re choosing the right size, you can either check guidelines on wick sizes for moulded candles or perform a test burn and see how well the wick burns. Ideally, the wick should burn slowly and steadily.


