Cecil DeMille, the founder of Hollywood’s motion picture industry once said, “creativity is a drug I cannot live without”. Having a creative mind is a healthy way to live life. A good way to have your mind coming up with creative ideas from time to time is by having a hobby.
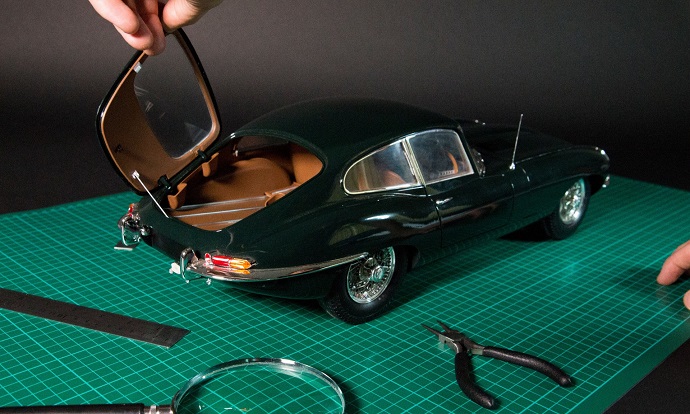
Source: model-space.com
It may sound a bit cliché but dedicating an hour or so a day to something you’re passionate about lets your mind wander, in a good way. A good example of a hobby that lets you do that is building model cars. It might sound like something a kid would do but building replicas of real-life vehicles can be quite difficult yet relaxing. If you are a beginner and don’t know where to start from, a good place to start is by browsing the diverse range of model cars for sale.
What Are Model Car Kits?
Model kits are made for the newbie. They are made of parts and some assembly hardware put together in a box for you to build. Model cars for sale come either assembled to a certain point or require to be assembled fully by the user. If you are new to this hobby, it’s best that you go with a kit that has some more difficult-to-assemble parts already put together. This is just so you can get the grips of building model cars.
Source: model-space.com
How to Build a Model Car Kit?
Preparation
A well lit area and a well-organised workspace are key to a successful build. Make sure you work in a ventilated room in order to let toxic fumes escape when painting. Since all model kits for sale are different, thoroughly read the instruction manual provided in your kit before you start. You might need some tools that are specific for this kit. Usually, you’ll need a hobby knife, some paintbrushes and tweezers.
Cutting Parts
First off, you’ll need to start by cutting the parts of the sprue. The sprue is the tree with all the parts connected together. All you need to do to take a part of the tree is to cut the pieces holding it. You can even get a sprue cutter and use it instead of a hobby knife but either one will make for a clean cut. You don’t want bits of the sprue hanging from a part. Make sure you cut against a surface that you don’t mind damaging. Don’t cut on a newly bought table as the knife or sprue cutter will definitely leave some marks on it. It’s best that you cut the parts on a poster board or an old magazine.
More Preparation
You might think all that needs to be done is glue the parts together and apply some decorations. Well, you also need to wash the parts before you assemble the kit. This step may not be included in the manual of model car kits. Use some mild detergent and warm water. Then, rinse them off with clean water and dry them with a clean towel as well.
Source: wikipedia.org
Gluing Parts
Before you start assembling all the parts, read the instruction manual once again to make sure you put them together accordingly and in the right order. To ensure that all parts fit properly, get your hobby knife and trim any excess plastic that might have been left on the parts when cutting them off the sprue. You need to apply a small amount of glue on each part and join them together. Applying too much glue will make it slide from the sides and you’ll have to clean up the excess which is not really fun.
Painting & Applying Decals
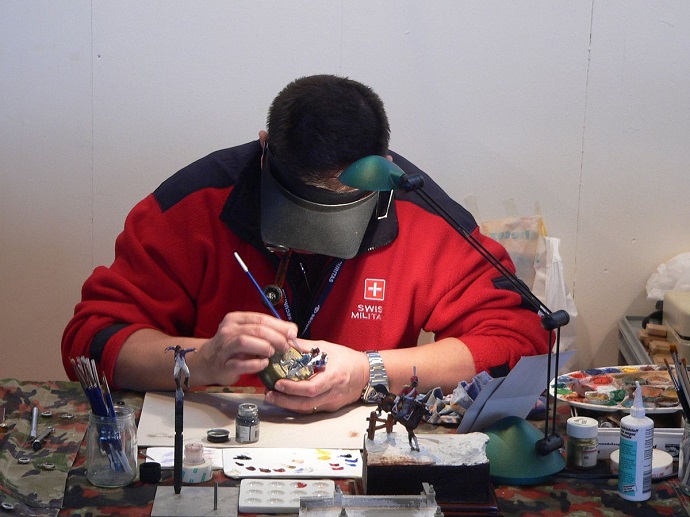
While model cars look good without paint and decals, painting a few details on your model can make a big difference in their look. This is also the most therapeutic part as you have the artistic freedom to do whatever you want or follow some guidelines to make your model more realistic. For decals, you usually need to soak them in water for about 15 seconds and hold them up for a little bit. Then, slide the paper off and place the decal onto the model.
Additional Tips
Before painting, plastic parts should be scuffed with 400-grit sandpaper. This will help the paint stick better to the plastic. To add a more realistic touch to your model cars, use a technique called black washing. This includes using thinned down black paint to touch up the part so that it runs in all the low spots.
Before gluing parts together, make sure to remove chrome parts. Chrome parts need to be scraped off in order for the glue to work. The paint usually needs about 30 minutes to dry off which is enough time for you to peel off any masking tape form the model. Make sure to do so by pulling the tape back on itself to avoid lifting the paint or tearing any edges.


